How To Create a Photo Manipulation
Create a Photo Manipulation Step 15
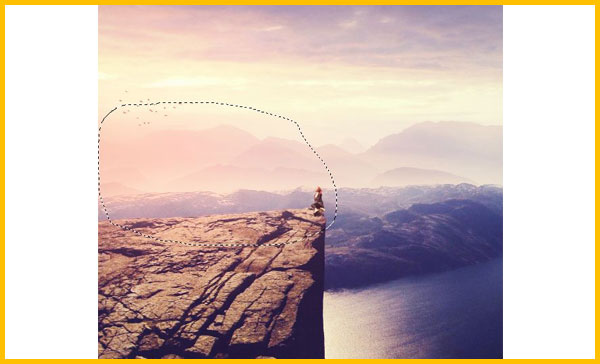
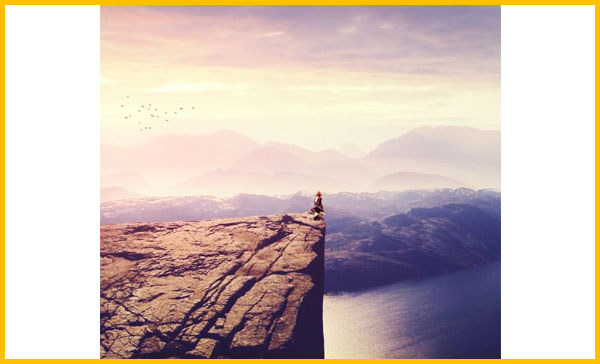
Create several layers and use the bird brushes to paint on the horizon. Remember to turn the foreground to black.
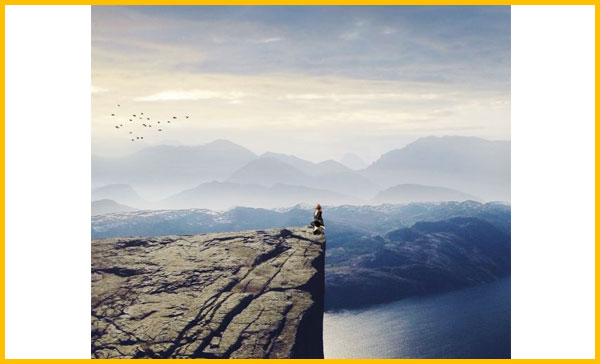
Create a Photo Manipulation Step 16
Select all the bird layers and press Ctrl+G to make a group for them. Lower the opacity of this group to 70% to make the birds blend better with the background..
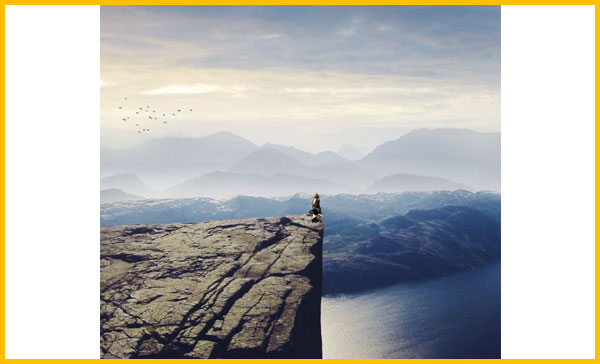
Create a Photo Manipulation Step 17
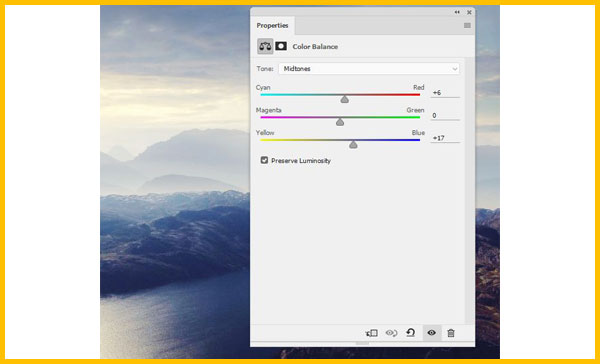
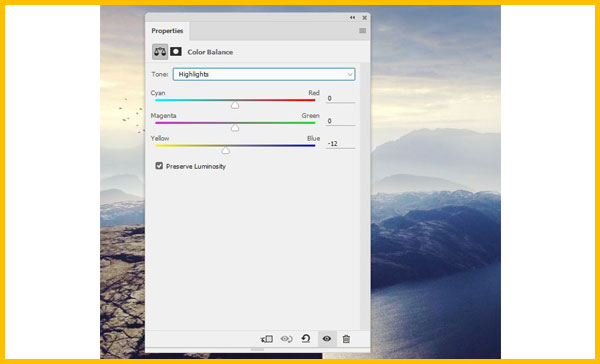
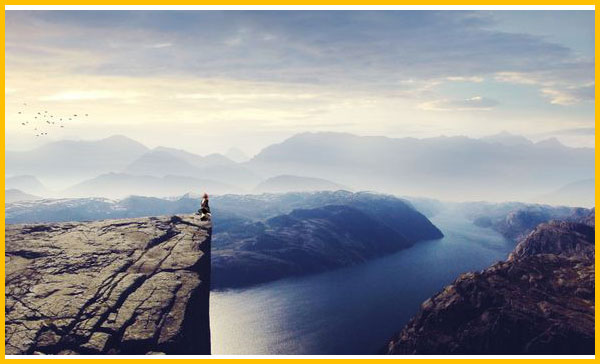
Make a Color Balance adjustment layer on top of the layer and change the Midtones and Highlights settings.
Create a Photo Manipulation Step 18
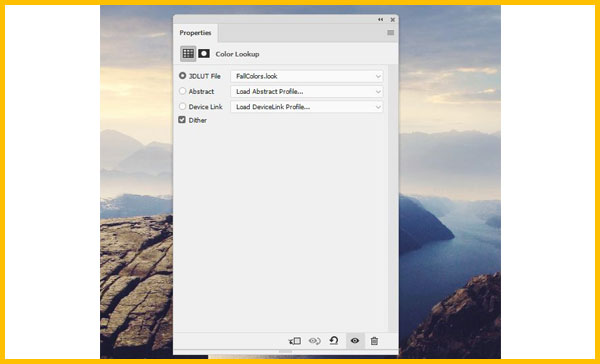
Create a Color Lookup adjustment layer and lower the opacity of this layer to 50% .
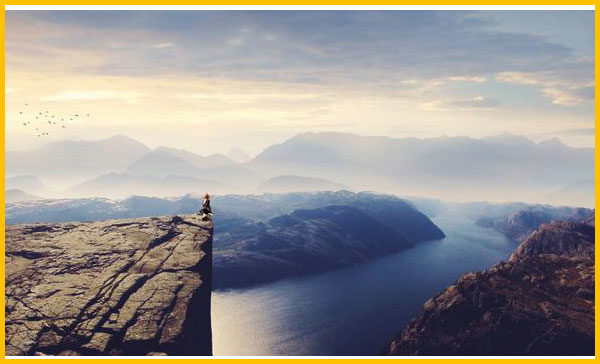
Create a Photo Manipulation Step 19
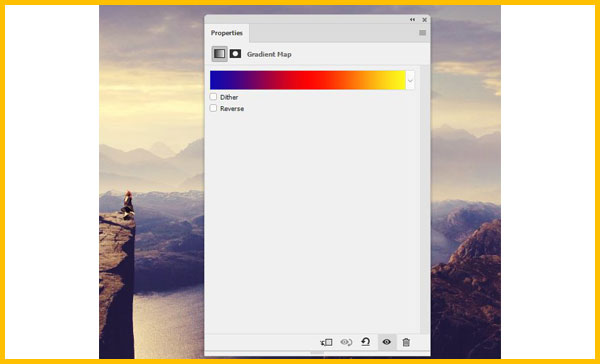
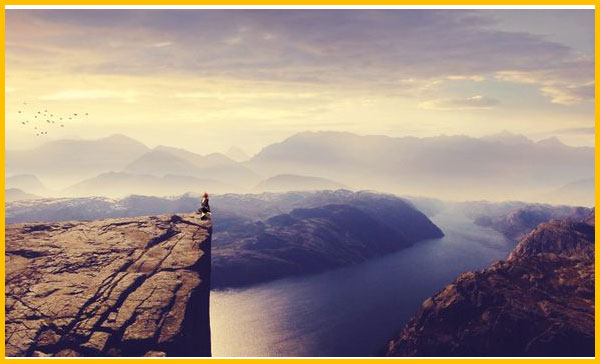
Make a Gradient Map adjustment layer and pick the one with Red, Blue and Yellow (one of the default gradient settings). Lower the opacity of this layer to 10% .
Create a Photo Manipulation Step 20
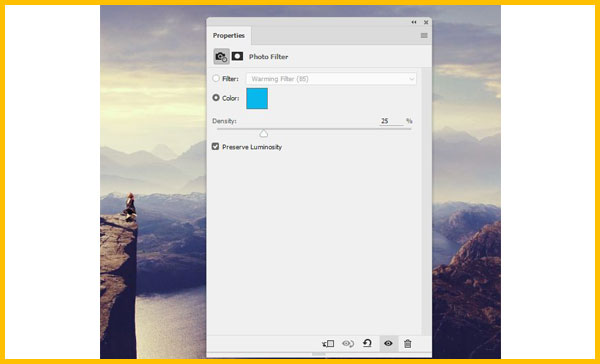
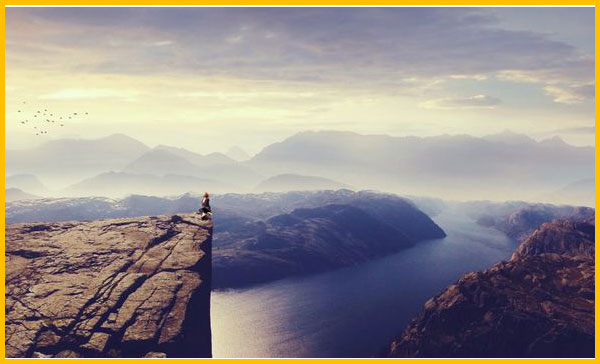
Use a Photo Filter adjustment layer and pick the color #00b7ec :
Create a Photo Manipulation Step 21
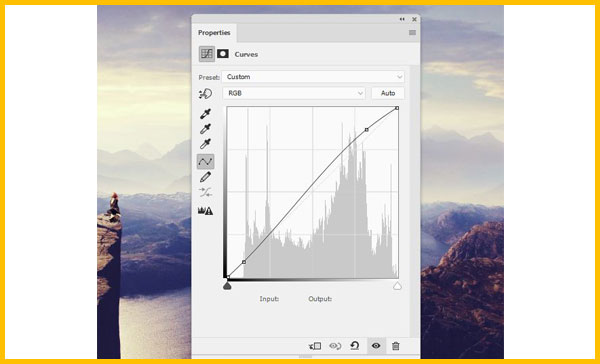
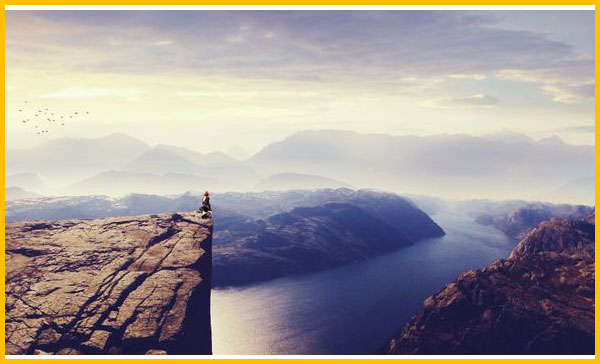
Make a Curves adjustment layer to increase the light for the scene.
Create a Photo Manipulation Step 22
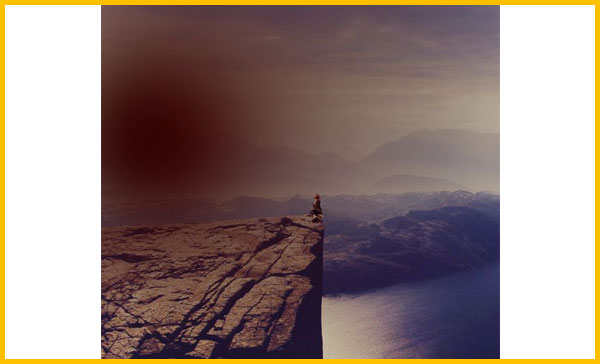
Create a new layer and use a soft brush with the color #240202 to paint on the horizon. Change the mode of this layer to Linear Dodge 100% .
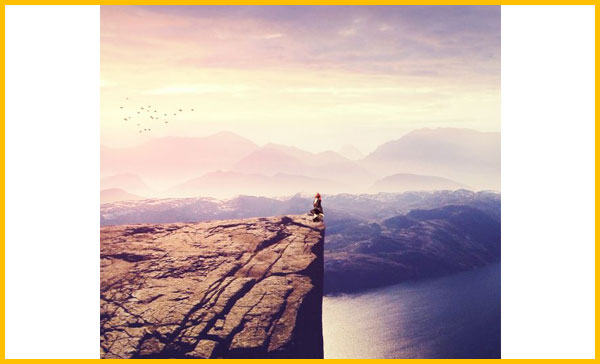
Create a Photo Manipulation Step 23
Make a new layer and use a soft brush with the color #fdbfa7 to paint more light on the horizon. Alter the mode of this layer to Overlay 100% ..
