Step 15 Place another one somewhere in the middle and reduce the Opacity to 25%. This is how it should look: Step 16 Next we wil...
Step 15
Place another one somewhere in the middle and reduce the Opacity to 25%. This is how it should look:

Step 16
Next we will add the lines coming from the center of sky with the Line Tool(U). So pick up the Line Tool and create some lines with this colour: #db9da1.

Step 17
For each line you create a new shape layer is going to be created in the layers panel, combine this layers into just one layer by selecting them in the layers panel, right-clicking and selecting Merge Shapes. Now add a layer mask to it and using a soft brush paint with black colour the tip of the lines.
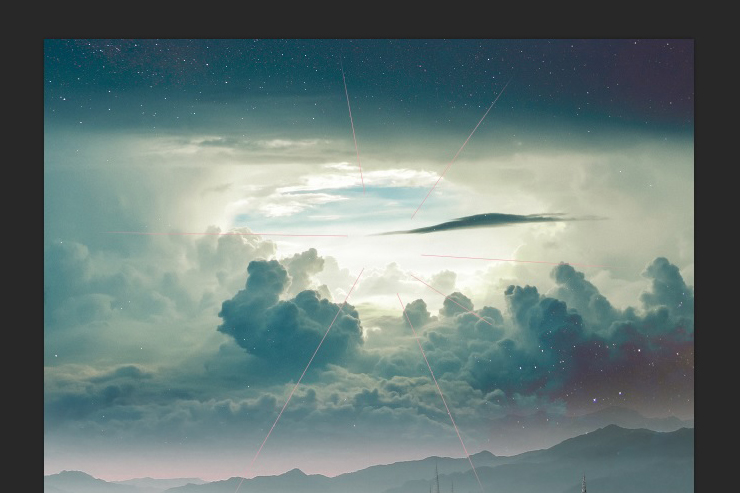
Step 18
We will repeat the process with another set of lines but this time we’re going to make them white.

Step 19
Now there’s only one thing to add, the air balloons. So go ahead and place it on the canvas and get rid of the sky with any of the methods we previously explained or your own method.

Step 20
Let’s change a little bit the light on this balloon, add a Curves adjustment layer.

Step 21
Place the second balloon. Since it has to look that it’s further in the distance make it smaller. We will make a Curves adjustment layer and we will make it darker than the first one.

Step 22
Repeat the process with two more balloons and this is how it should look like:
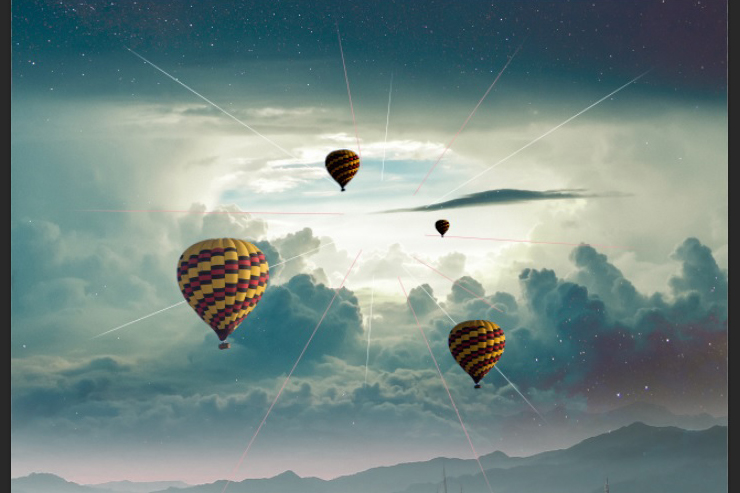
Step 23
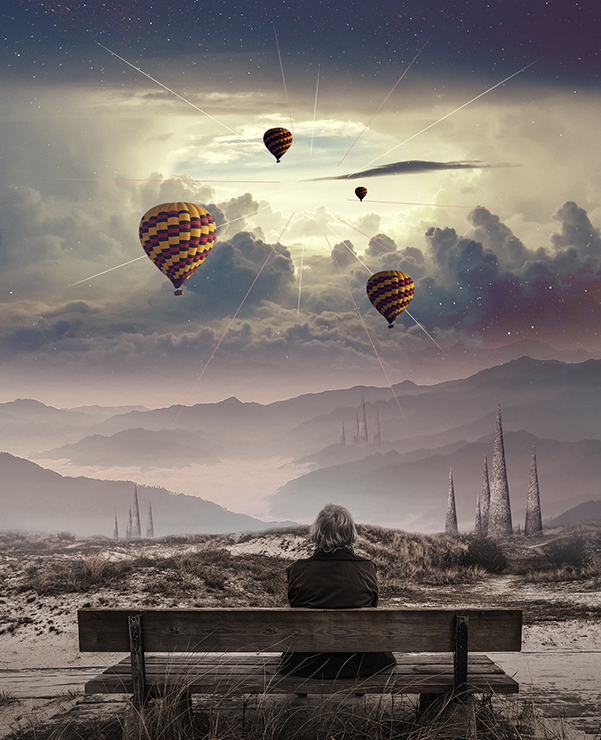
The last thing we’ll do is add a Gradient Map, the one I used is a Photoshop preset and you should have it. Reduce the Opacity of the layer to 10%.

Step 24
Now we don’t want the Gradient Map to show on the ground and on the man because it makes it too red, so we’re going to add a layer mask and hide it.

Step 25
And we’re done, I hope you enjoyed this tutorial.

Preview of Final Results