
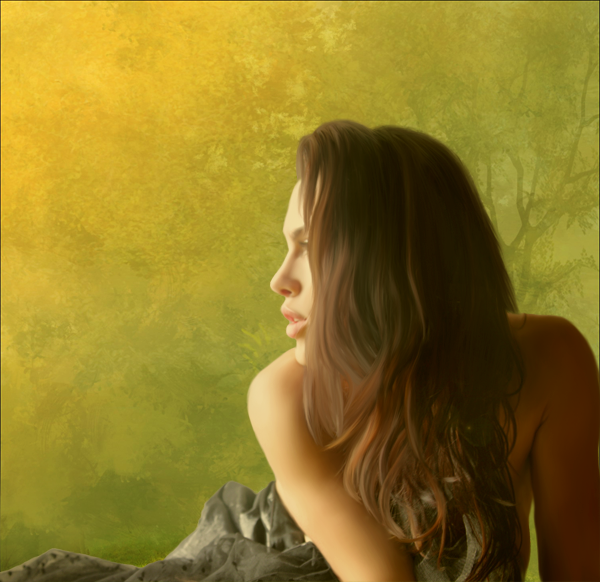
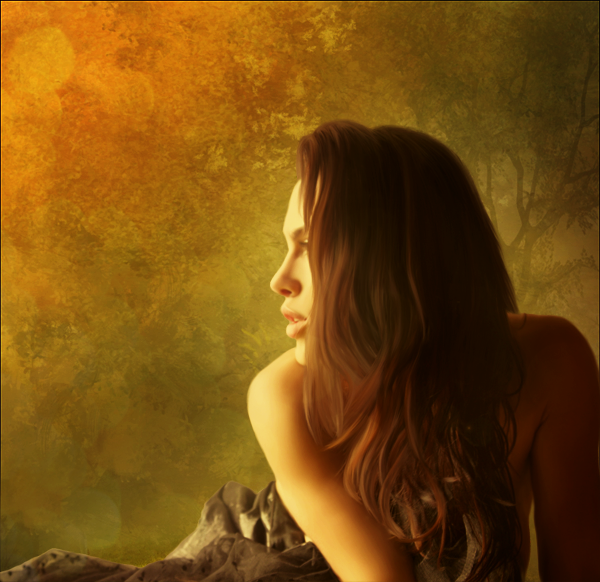
Preview of Final Results
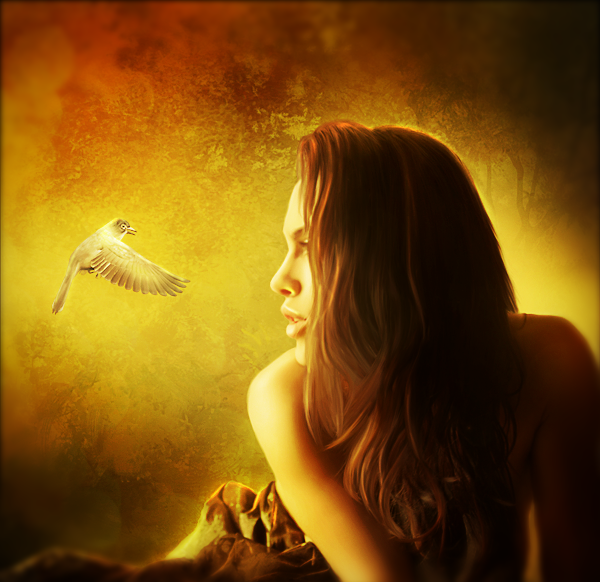
In this tutorial you will learn to create a portrait of a beautiful lady in a warm autumn background using lights, contrast, colors and other adjustments.
Step 1
Download the Backgrounds pack and open in Photoshop the background number 5. Double click on the layer to unlock it. Flip the image horizontally (CTRL + T > Flip Horizontally). Crop the part we want to be the base of our work.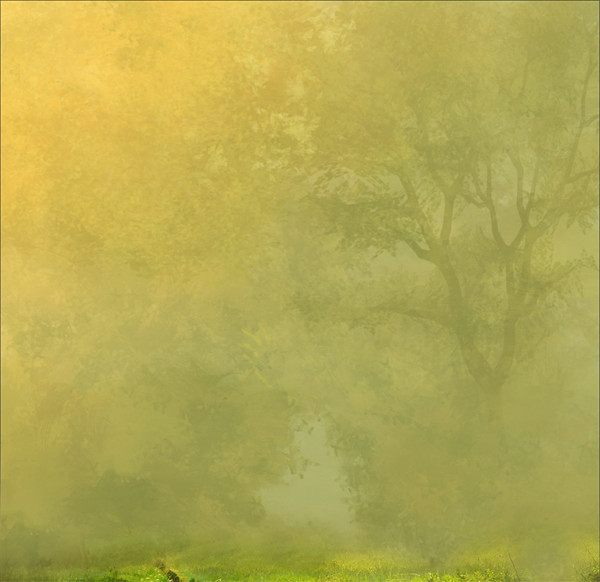
Step 2
We want to give to the background some contrast. Duplicate the background twice (CTRL + J). Set the first duplicated background to Screen to enhance the lights. Set the second to Multiply to enhance the shadows. This is what you will have.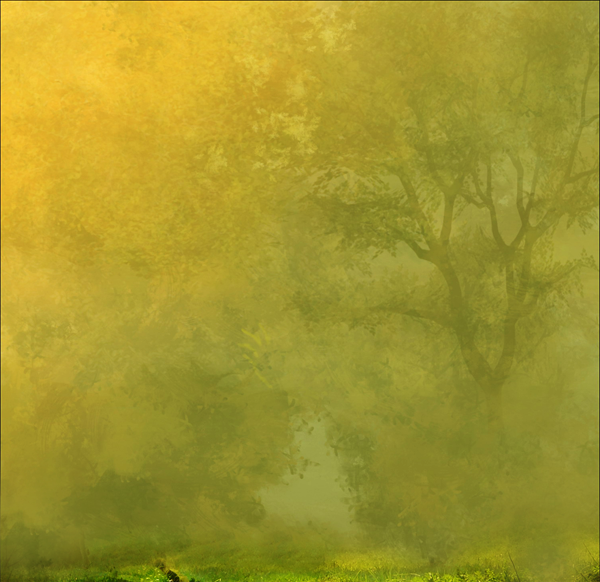
Step 3
Extract the Lady from the background (I used the Quick Selection Tool + Refine Edges, but everyone has their own best method). I previously smudged the model skin, but this is not the aim of this tutorial and it doesn’t affect the final result. Put her in a new layer above the backgrounds layers.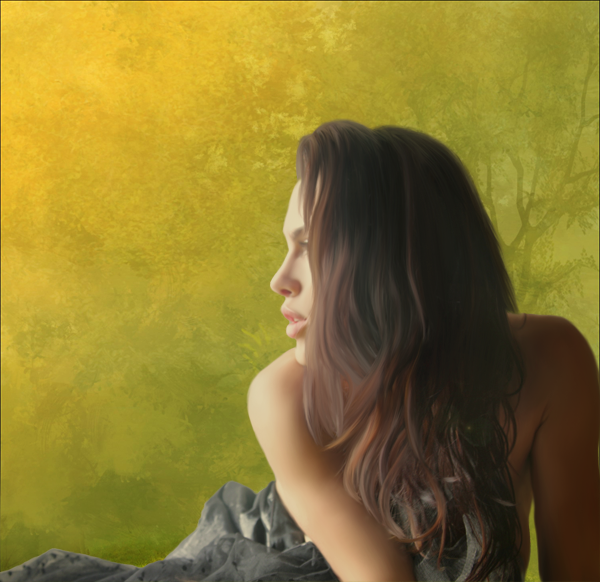
Step 4
Now we have to blend the Lady with the Background. I desaturated a bit the lady and removed some of brightness. To do that add a Hue / Saturation Adjustment Layer only for the Lady and set the Saturation to -19 and Lightness to -8.
Step 5
Now we work on the colors. Add a Color Balance Adjustment Layer only to the Lady and put these settings:Shadows > +14 +7 -16
Midtones > +11 +7 0
Highlights > +10 +5 -5
Step 6
We want to blend more everything. Open the pack containing the bokeh and add the number 2 in a new layer above everything. Rotate it like in the picture below (CTRL + T).
Step 7
Set the Bokeh to Soft Light. Opacity and Fill to 75%.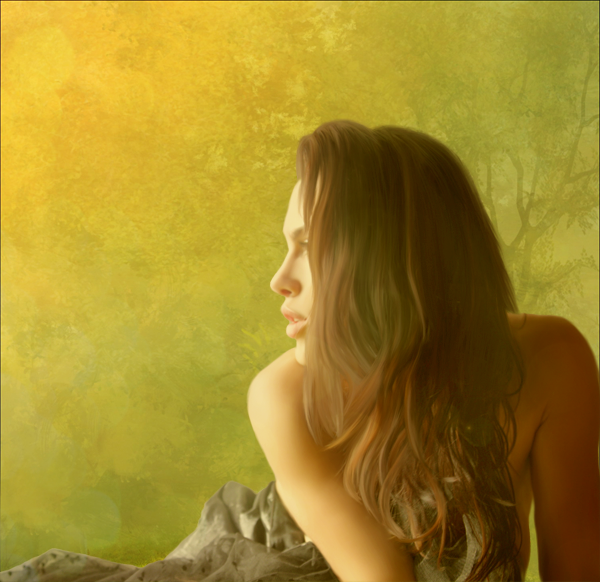
Step 8
Add a Gradient Map Adjustment Layer and choose the one you see below from the presets.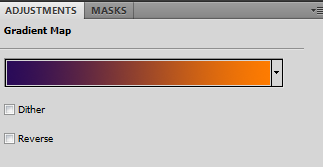
Step 9
Set the Gradient Map to Soft Light with Opacity and Fill to 80%.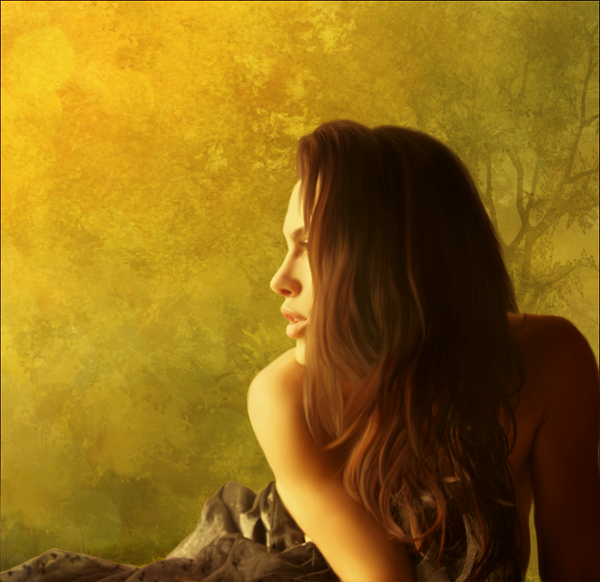
Step 10
Add another Gradient Map and set it like below.
Step 11
Set the Gradient Map to Soft Light with Opacity and Fill 80%.
Step 12
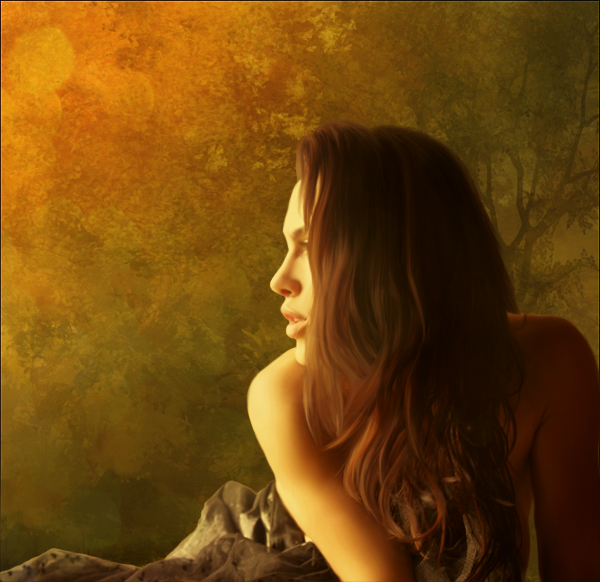
Let’s work now on shadows and lights. First of all we need to make the background darker. Add a Brightness / Contrast Adjustment Layer above the 3 backgrounds and put:Brightness -54 and Contrast +48
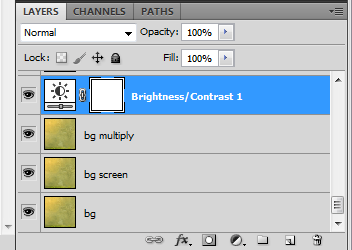
This is so far what you’ll have.
Step 13
Create a new layer below the Lady and paint with white below her, going out her edges.
Set the layer to Soft Light.
Step 14
Create a layer below the one you have just done. Pick the color #572e07. With the Gradient tool (linear – #572e07 to transparent) make a gradient like the image below.
Set the layer to Multiply with Opacity and Fill at 80%.
CONTINUED: How to Create an Portrait.(Part 2).

